Anyone who gardens for more than a year or two has heard of composting. Some may even have dabbled in it with varying degrees of success. If you’ve ever been curious about this green thumb practice, we have some great information for you. Recently, we talked to two composting experts in our area and asked for the low down on the humus under our feet. Here’s what we found:
A Process and a Product
Cara Ablin, the color department supervisor for Wilmore Garden Center in Littleton, and Judy Elliott, education specialist and lead trainer for the Denver Master Composter training and outreach program sponsored by Denver Recycles, have a wealth of knowledge and resources for you to make this the year composting becomes part of your gardening life.
The first lesson they pointed out is that composting is a process and not just a product.
“Some people get a bin and dump things into it, expecting the bin to do something miraculous,” said Judy. “Composting doesn’t work that way. For a gardener to be successful, he or she needs to understand the process.”
Cara agreed. “You can’t just throw things willy-nilly into the compost and add a little water. I know some people seem to throw things in and it comes out great, but I’m not sure how they do that. More often you want to stick closer to the two-parts brown to one part green process. We also have boosters for your compost if you need a little help getting started.”
What usually goes wrong?
If composting is an easy way to build better soil conditions, we wondered why more people don’t do it, or what they do wrong.
“Not turning it regularly is a big problem,” said Cara. “You need to do that to get air into the compost and keep it moist to help the decomposition.”
Judy agreed. “You’re not making soil, but helping Mother Nature’s very efficient process of decomposition.”
Here are Judy’s recommendations for setting up your own compost process:
- Prepare ahead – you will need to tend your compost every one to two weeks. You’ll also want an area of about one cubic yard for composting. This means you need to clear an area of about 3′ X 3′ and have room to pile up over three feet high. Before you begin, select a semi-shaded place for your work. Dig down about an inch of open soil. This makes it easier for the microbes to get to work.
- Water regularly – “People tend to think of worms as a basic extra ingredient to composting,” said Judy. “But water is the important element. You want your pile to be as moist as a wrung out sponge.”
- Cut everything you put into your compost into one to two inch pieces. Some people invest in chippers and lawn mowers for this task, but you can use a shovel to cut things up as well.
- As Cara said, compost needs exercise. You want to turn it every week to two weeks. Judy added that you want to turn the sides to the middle and the top to the bottom in order to get the right amount of air and texture moving around. When you’re done, cover your compost pile with black plastic or a tarp with holes punched into it. “Within the first week, you should expect to see steam from your compost pile. In this first phase temperatures at the center of the pile can be as high as 125 to 135 degrees.
- Make sure you balance the ingredients of your compost pile. Some people refer to this as the two parts brown and one part green formula, but Judy explained more clearly what you’re looking for.
“The higher carbon content materials are our brown items. These are things that hang around longer in a natural decomposition process—fall leaves, small twigs, tough broccoli stems, even straw or thatch.” Put a pile of these brown goods near your compost pile. Then, go for the green items.
“These items are rich in nitrogen,” said Judy. “They include things like weeds that haven’t gone to seed yet, fur from pet grooming or even hair from your brush, and of course, your vegetable and fruit peels.”
Both women stressed to never use items that attract pests and retain unhealthy smells. Never use meats, fats, cheeses, or bones.
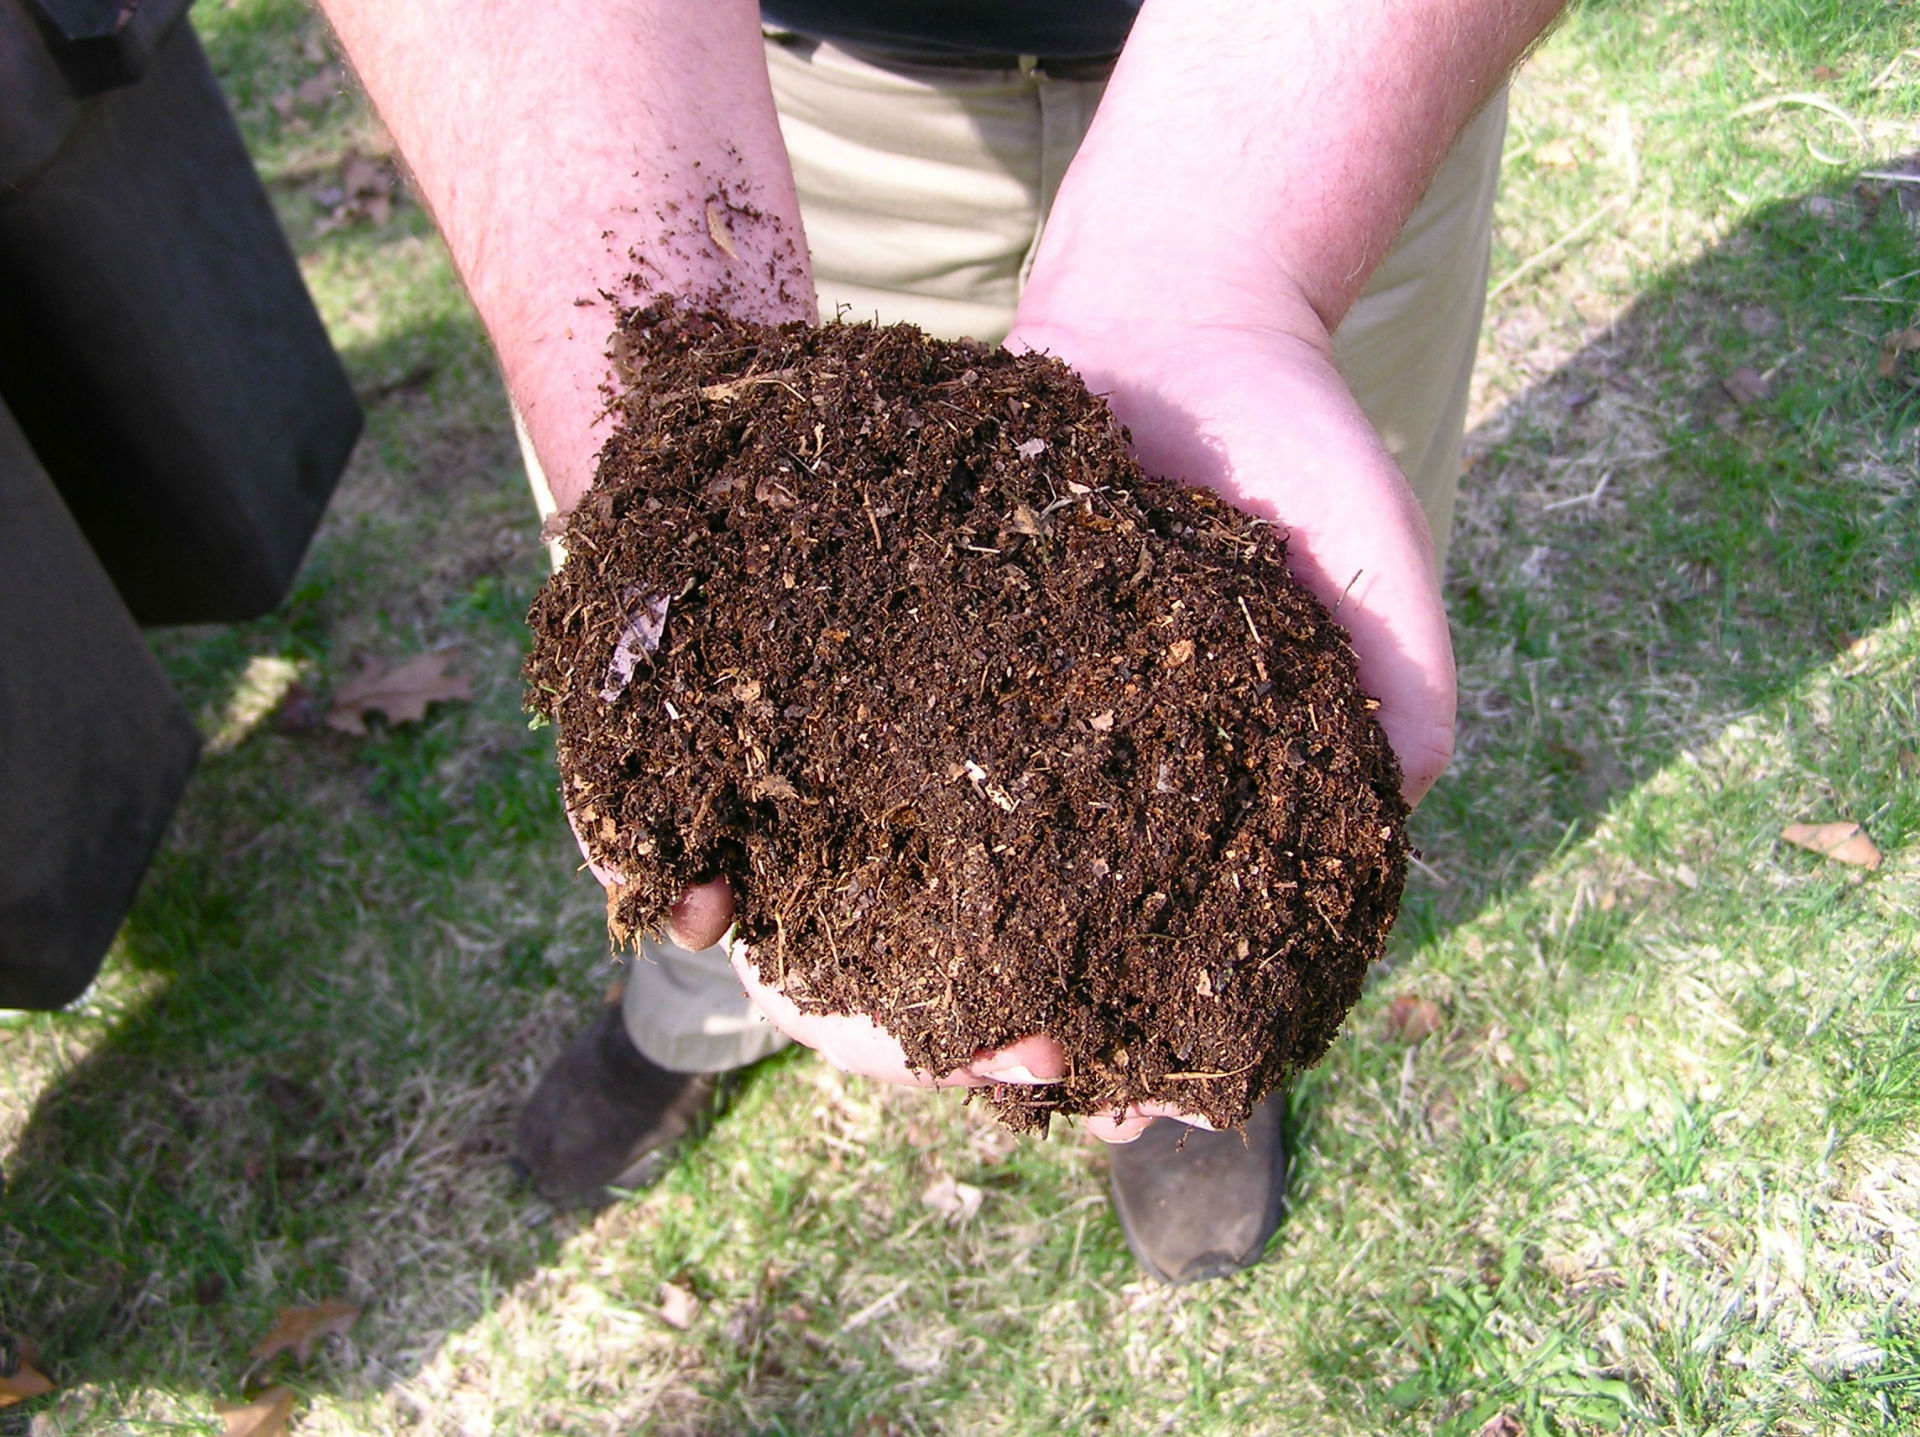
“You don’t want to create a land-fill,” said Judy. “Healthy compost will have the smell of a forest floor, and will not attract pests to your garden.” You need fewer green items than brown and they should have their own pile or container. Then, once a week or so you can add compost items in a 60% brown to 40% green ratio. Put down four to six inches of your carbon or brown items, and then two to three inches of the green. Keep layering until your pile is four or five feet high. It will damp down with the process.
If this all seems a little daunting, don’t worry. Over time you’ll get the hang of it, but to help you along, the Denver Urban Gardens, a non-profit in our area offers classes in composting regularly. You can find them on the DUG website.
Benefits of creating your own compost
With all this work, you may wonder if it’s worthwhile. Both Cara and Judy say it is. “With composting,” said Cara, “you know exactly what you’re putting in your garden. And it helps break up our famous Colorado clay fabulously.”
“Composting helps the entire health of the soil, without resorting to chemicals and pesticides,” said Judy. “It is a controlled decomposition method. And compost holds up to 50% of its weight in water. You could save up to 20% on your water bills by using composted materials in your garden.”
We hope you’ll dig in with your own composting project soon. Let us know how it goes!
(Photo by normanack)

Leave A Comment